Bonus: Samples & Debugging the UI
UI Toolkit comes with sample controls, sample scripts and a debugger. All three are very helpful when working with the new UI system.
Debugger
The UI Toolkit Debugger is as useful as the UI Builder and can be found at Window > UI Toolkit > Debugger. For anyone familiar with web development, you will notice that the debugger behaves similar to debug tools you’d find in the browser.
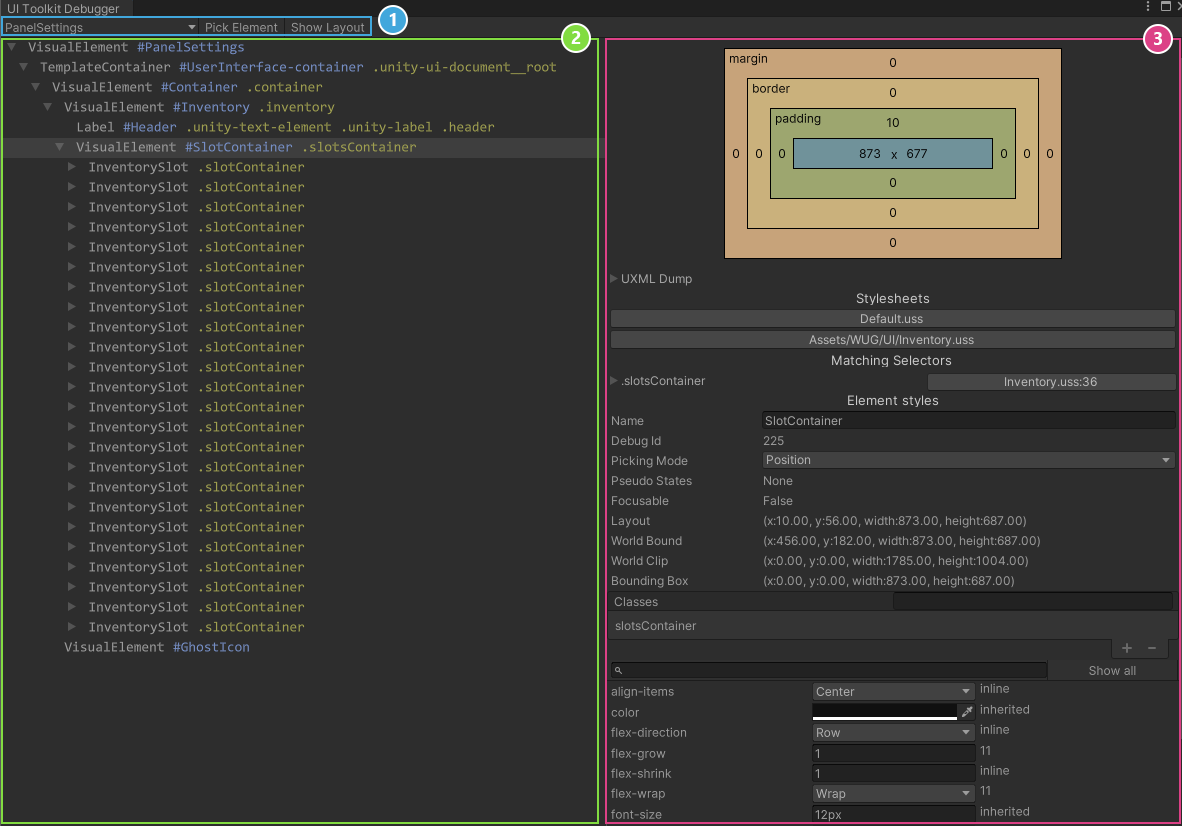
There are three main sections for the window:
- Top Toolbar: The first drop down is how you pick the area to debug. When using the debugger with a runtime UI, you’ll want to look for the PanelSettings item. Pick Element and Show Layout are ways for you to navigate to the right visual element that you want to view.
- Hierarchy: Displays how the hierarchy is currently rendered. You can select an item here to drill into the styles associated.
- Layout and Style: This panel can be used to see the current layout and styles applied. You can edit values to see changes at runtime. (They do not serialize back though, so make sure you write down any you want to keep!)
I’ve noticed that Pick Element does not work well with runtime UI. It has worked wonderfully for Editor UI though.
Control Samples
Control examples are installed alongside UI Toolkit and can be found under Window > UI Toolkit > Samples. Keep in mind that most of the controls are for creating editor UI. That being said, they’re great references for how to interact with UI Toolkit.
Script Samples
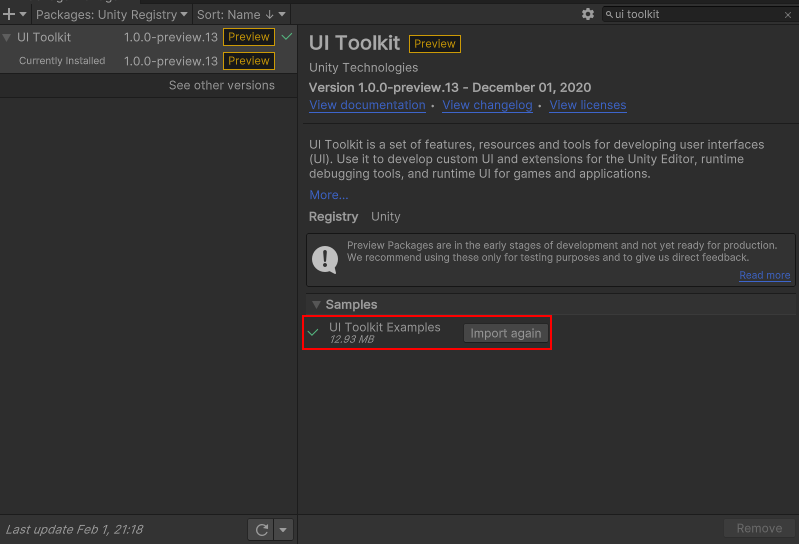
The UI Toolkit package has optional script examples that can be imported into your project. Go to Package Manager > UI Toolkit and expand the Samples section. You can also find the scripts on the UI Toolkit GitHub.